Create custom margins
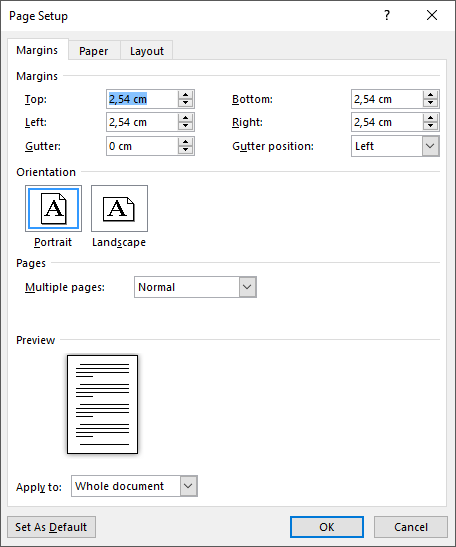
- Go to Layout or Page Layout >Margins >Custom Margins.
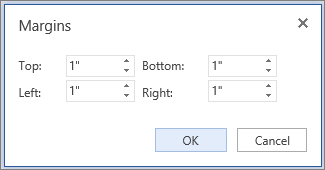
- Enter new values for the margins.
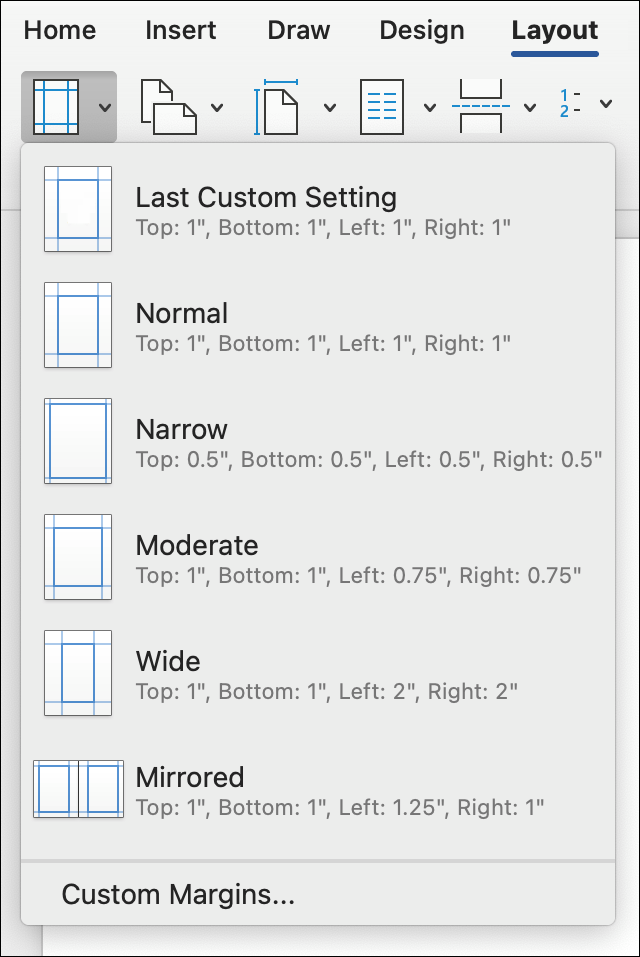
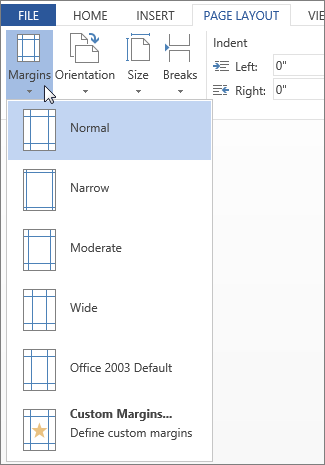
- Go to Page Layout >Margins.
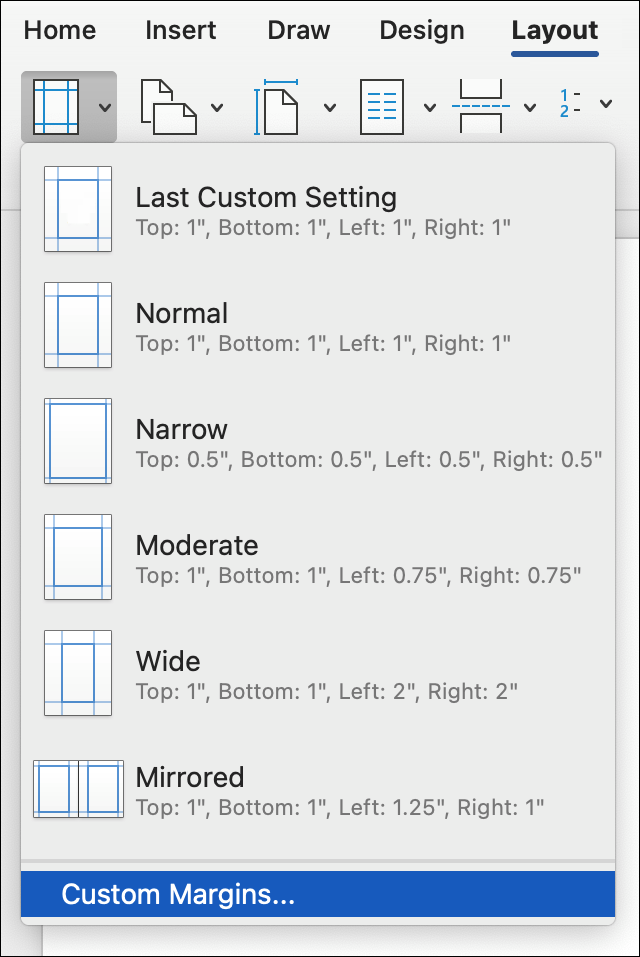
Select Custom Margins.
- If you’re not already in Edit view, select Edit Document >Edit in Word for the web.
- Go to Page Layout >Margins.
Select Custom Margins.
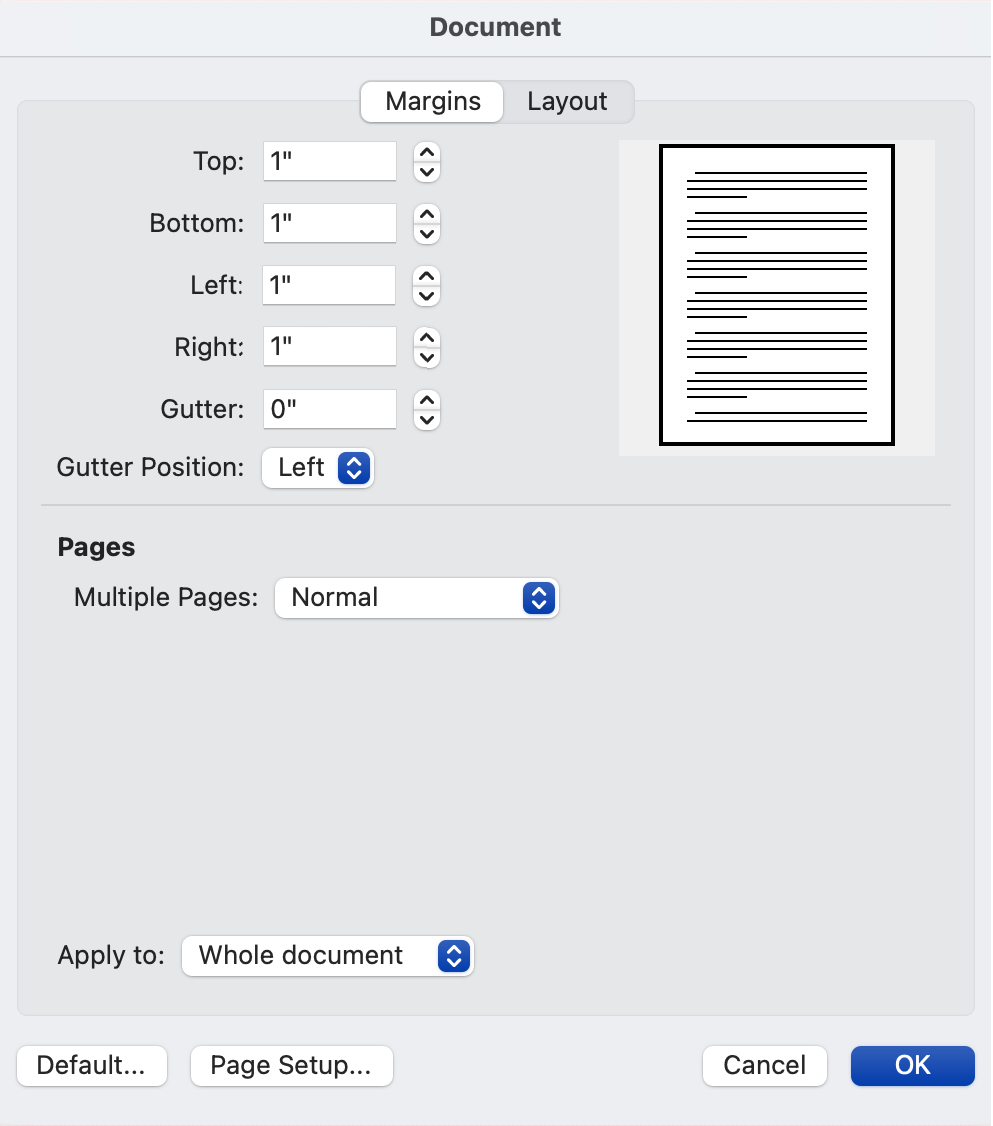
Set your custom margins.
Note: If your document contains multiple sections, the new margin type will only be applied to the current section.
